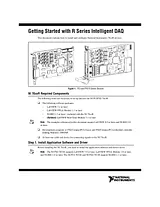
用户手册目录Getting Started with R Series Intelligent DAQ1Figure 1. PCI and PXI R Series Devices1NI 78xx R Required Components1Step 1. Install Application Software and Driver1Step 2. Install the Device, Accessories, and Cables2Unpacking2NI 78xx R Installation2Figure 2. Installing an NI PCI-78xx R Device3Figure 3. Installing an NI PXI-78xx R Device in a PXI Chassis3Step 3. Connect Signals4Figure 4. NI 781x R Connector Pin Assignments and Locations4Figure 5. NI 783x R Connector Pin Assignments and Locations5Connectivity Options6Table 1. R Series Connectivity Options6Step 4. Using Your NI 78xx R Device with a LabVIEW FPGA Example VI (NI 783x R/784x R/785x R Only)7Adding Analog Output to the FPGA Application9Where to Go From Here11Where to Go for Support12文件大小: 712.6 KB页数: 12Language: English打开用户手册
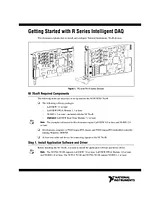
用户手册目录Getting Started with R Series Intelligent DAQ1Figure 1. PCI and PXI R Series Devices1NI 78xx R Required Components1Step 1. Install Application Software and Driver1Step 2. Install the Device, Accessories, and Cables2Unpacking2NI 78xx R Installation2Figure 2. Installing an NI PCI-78xx R Device3Figure 3. Installing an NI PXI-78xx R Device in a PXI Chassis3Step 3. Connect Signals4Figure 4. NI 781x R Connector Pin Assignments and Locations4Figure 5. NI 783x R Connector Pin Assignments and Locations5Connectivity Options6Table 1. R Series Connectivity Options6Step 4. Using Your NI 78xx R Device with a LabVIEW FPGA Example VI (NI 783x R/784x R/785x R Only)7Adding Analog Output to the FPGA Application9Where to Go From Here11Where to Go for Support12文件大小: 712.6 KB页数: 12Language: English打开用户手册